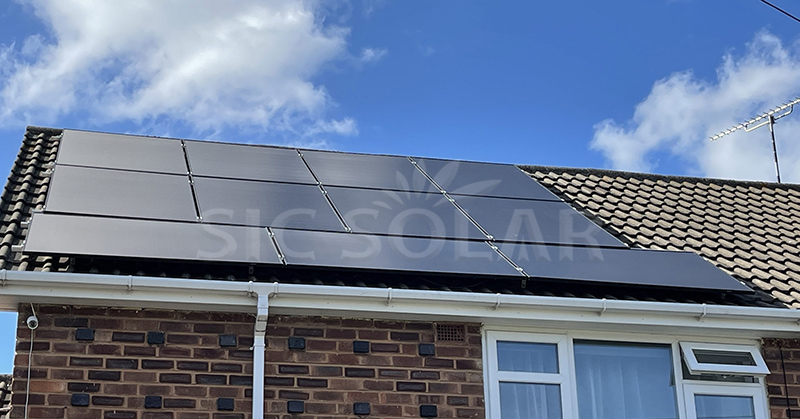
Installing solar brackets on a roof is one of the most critical steps in setting up a photovoltaic system. These brackets are responsible for holding the solar panels securely in place, ensuring optimal positioning for sunlight exposure, and maintaining the structural safety of both the panels and the building. Whether for residential or commercial rooftops, proper bracket installation is essential to the performance and longevity of the solar system.

Step 1: Assess the Roof Structure
Before installation begins, it’s important to evaluate the roof type—sloped or flat—and the roofing material. Common roof types include asphalt shingles, tile, and metal. Each requires specific bracket designs and installation methods. Additionally, the roof must be structurally sound to bear the additional weight of the solar system and withstand environmental loads such as wind and snow.
Step 2: Mark Layout and Locate Rafters
Using the solar panel layout plan, installers mark the exact locations where brackets will be placed. Brackets should be aligned with the roof rafters to ensure secure attachment. For shingle roofs, this typically involves lifting a few shingles to access the wooden structure beneath. In tile roofs, some tiles may need to be cut or removed temporarily.
Step 3: Attach Mounting Brackets
The mounting brackets are fastened directly to the roof rafters using lag bolts. A sealing compound or flashing is applied to prevent water from penetrating the roof. For metal roofs with standing seams, non-penetrating clamps are often used, eliminating the need to drill and reducing the risk of leaks.
It’s crucial to ensure the brackets are level and evenly spaced according to the size and weight of the solar panels. Improper spacing can lead to stress on the panels or frame.
Step 4: Install Rails or Racking System
Once the brackets are secured, rails or racking systems are mounted across them. These rails act as the base onto which the solar panels will be attached. They are adjusted to achieve the desired tilt angle and orientation—usually facing south in the northern hemisphere for maximum sun exposure.
Racking systems may include built-in cable management channels to keep wiring neat and safe. Proper grounding is also established at this stage to protect the system from electrical faults.
Step 5: Mount the Solar Panels
With the racking in place, the solar panels are lifted and mounted onto the rails using mid and end clamps. Care is taken to ensure each panel is securely fastened and aligned. Wires are connected and organized according to the system design, and weatherproofing components are checked.
The Role of Quality Mounting Hardware
The entire solar array depends on the quality of the mounting hardware. High-strength, corrosion-resistant materials such as aluminum and stainless steel are commonly used. Products from companies like SIC Solar are engineered specifically for roof-mounted systems, with a wide range of bracket types compatible with different roof structures.
SIC Solar designs and produces solar mounting brackets that are easy to install, structurally reliable, and adaptable to local environmental conditions. Their bracket systems are used in residential and commercial projects across various regions and have been tested to meet international standards for wind, snow, and seismic loads.
Proper installation of solar brackets is not just about securing the panels—it’s about building a strong, long-term foundation for clean energy production.